For those of you who don’t know me personally, I recently got married to my best friend in October. Not only were we lucky enough to have all of our friends and family help us celebrate, the weather turned out perfect and everyone had a blast.
Anyway, for the wedding my wife asked me to build a prayer bench – something for us to kneel on while the preacher blessed the marriage. I didn’t know the first thing about altars, but if it meant I had a job that didn’t involve picking between napkin colors, I was on board.
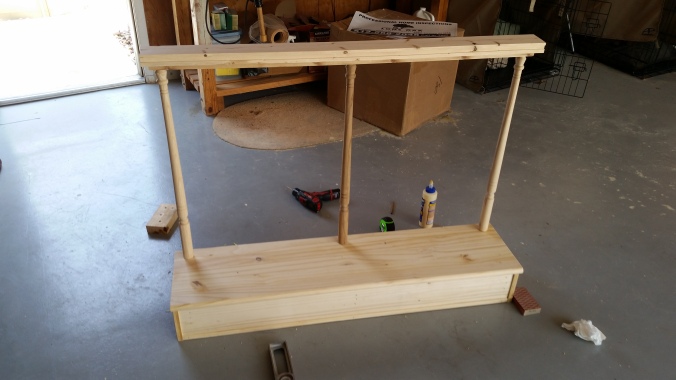
First I built out a box framed with 2x4s, 1/4″ plywood, and a 48 in. x 11-1/2 in. Unfinished Pine Stair Tread from Home Depot. I used some moulding to add a little character.

Next, I drilled 3 pilot holes to screw in balusters to support the railing, which is really just a 2×4 I routed and then attached to a 1×2 with screws. It doesn’t have to be too fancy, and it helps that my wife asked for a “rustic” look (essentially a get-out-of-jail-free card for any mistakes or imperfections in the pine. And because it’s common pine, there are a lot).
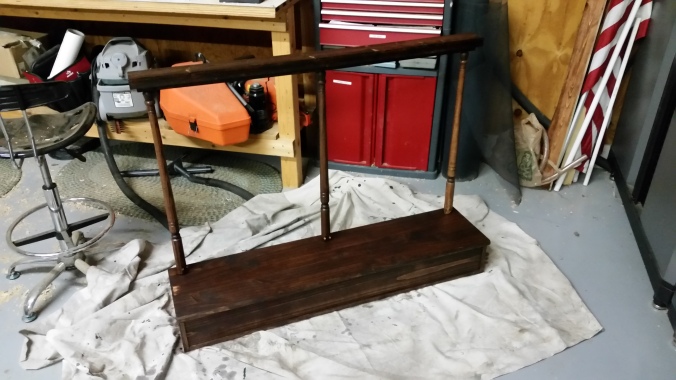
After sanding the whole thing down from 120-150-220, I applied a stain mix (Red Oak/Red Mahogany/a little Walnut) and wiped off any excess. After this had dried, I applied a few coats of poly, sanding in between.
The next part was more difficult, as I have no upholstery skills. I enlisted the help of my mom, who had hand-stitched every halloween costume we ever wore as kids. She and I were able to take a big piece of foam that I cut to size and upholster it with a blue fabric onto plywood using staples. I secured it to the bench using velcro, so if needed it can be removed later.

Under the fluorescent lights of the garage it looks a little silly, but in person the blue isn’t nearly so bright. Here are some pictures of it from the wedding. Thanks for reading!