Wood Inlay Knife Handle

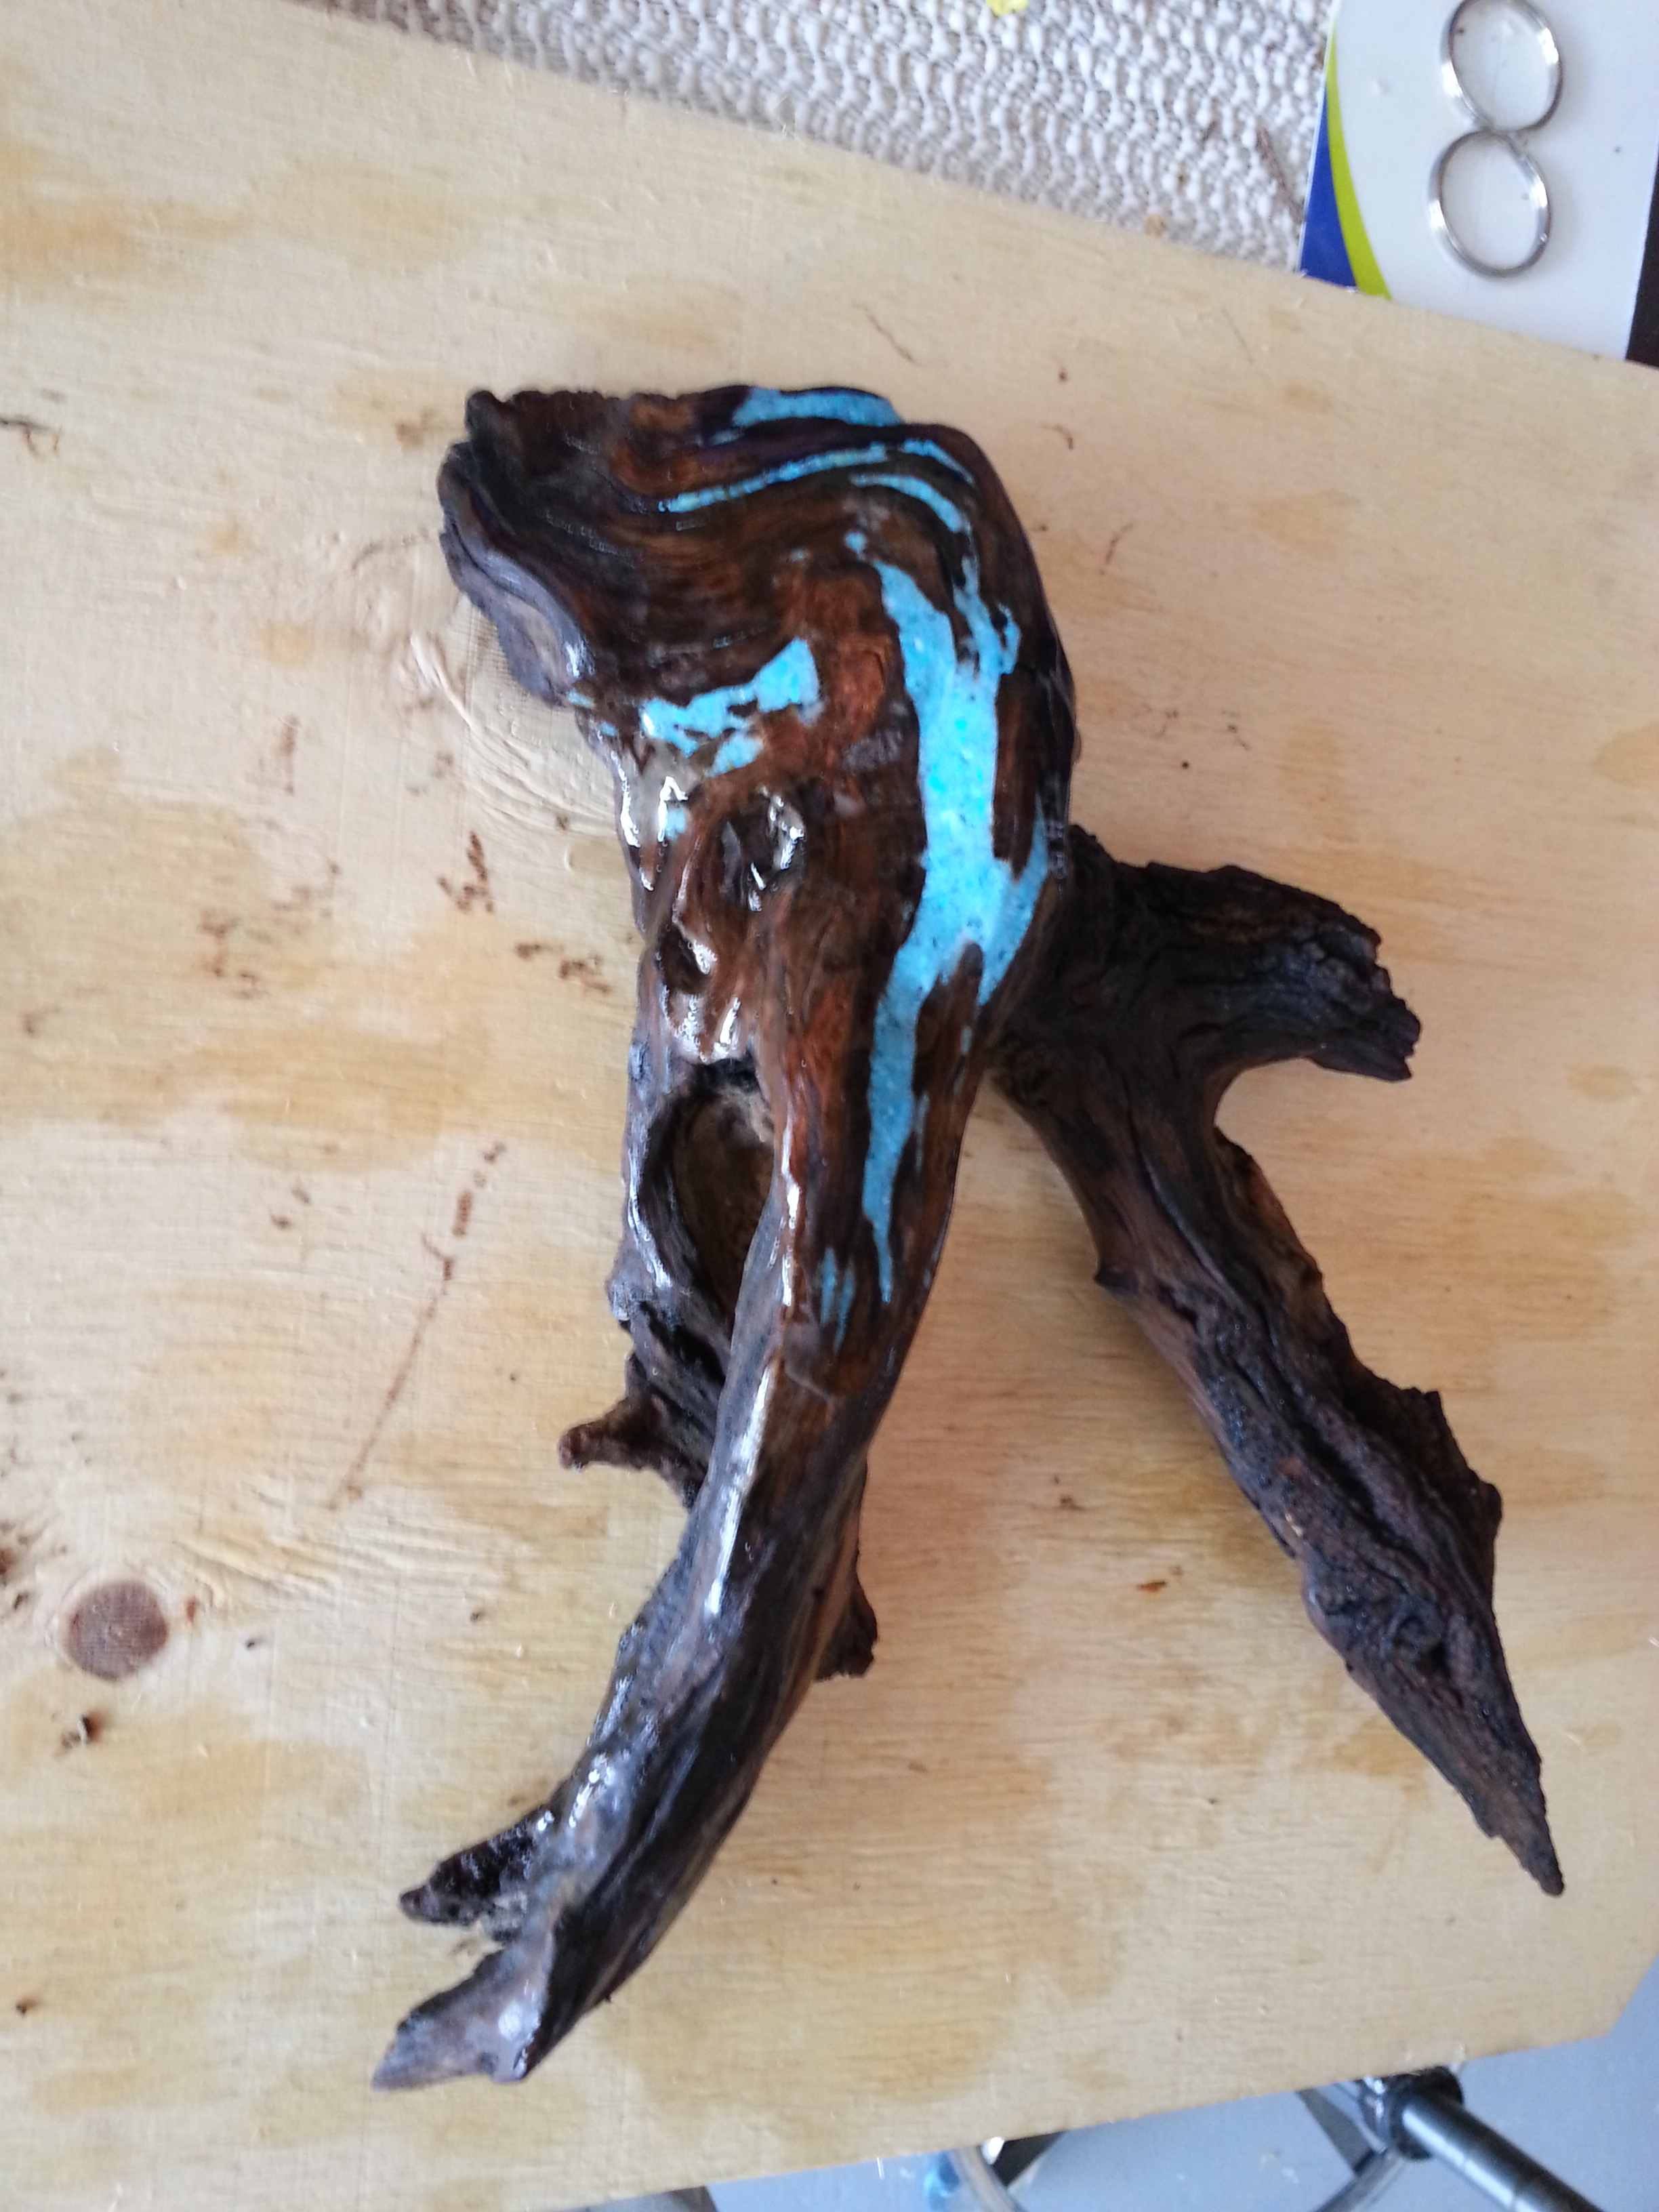
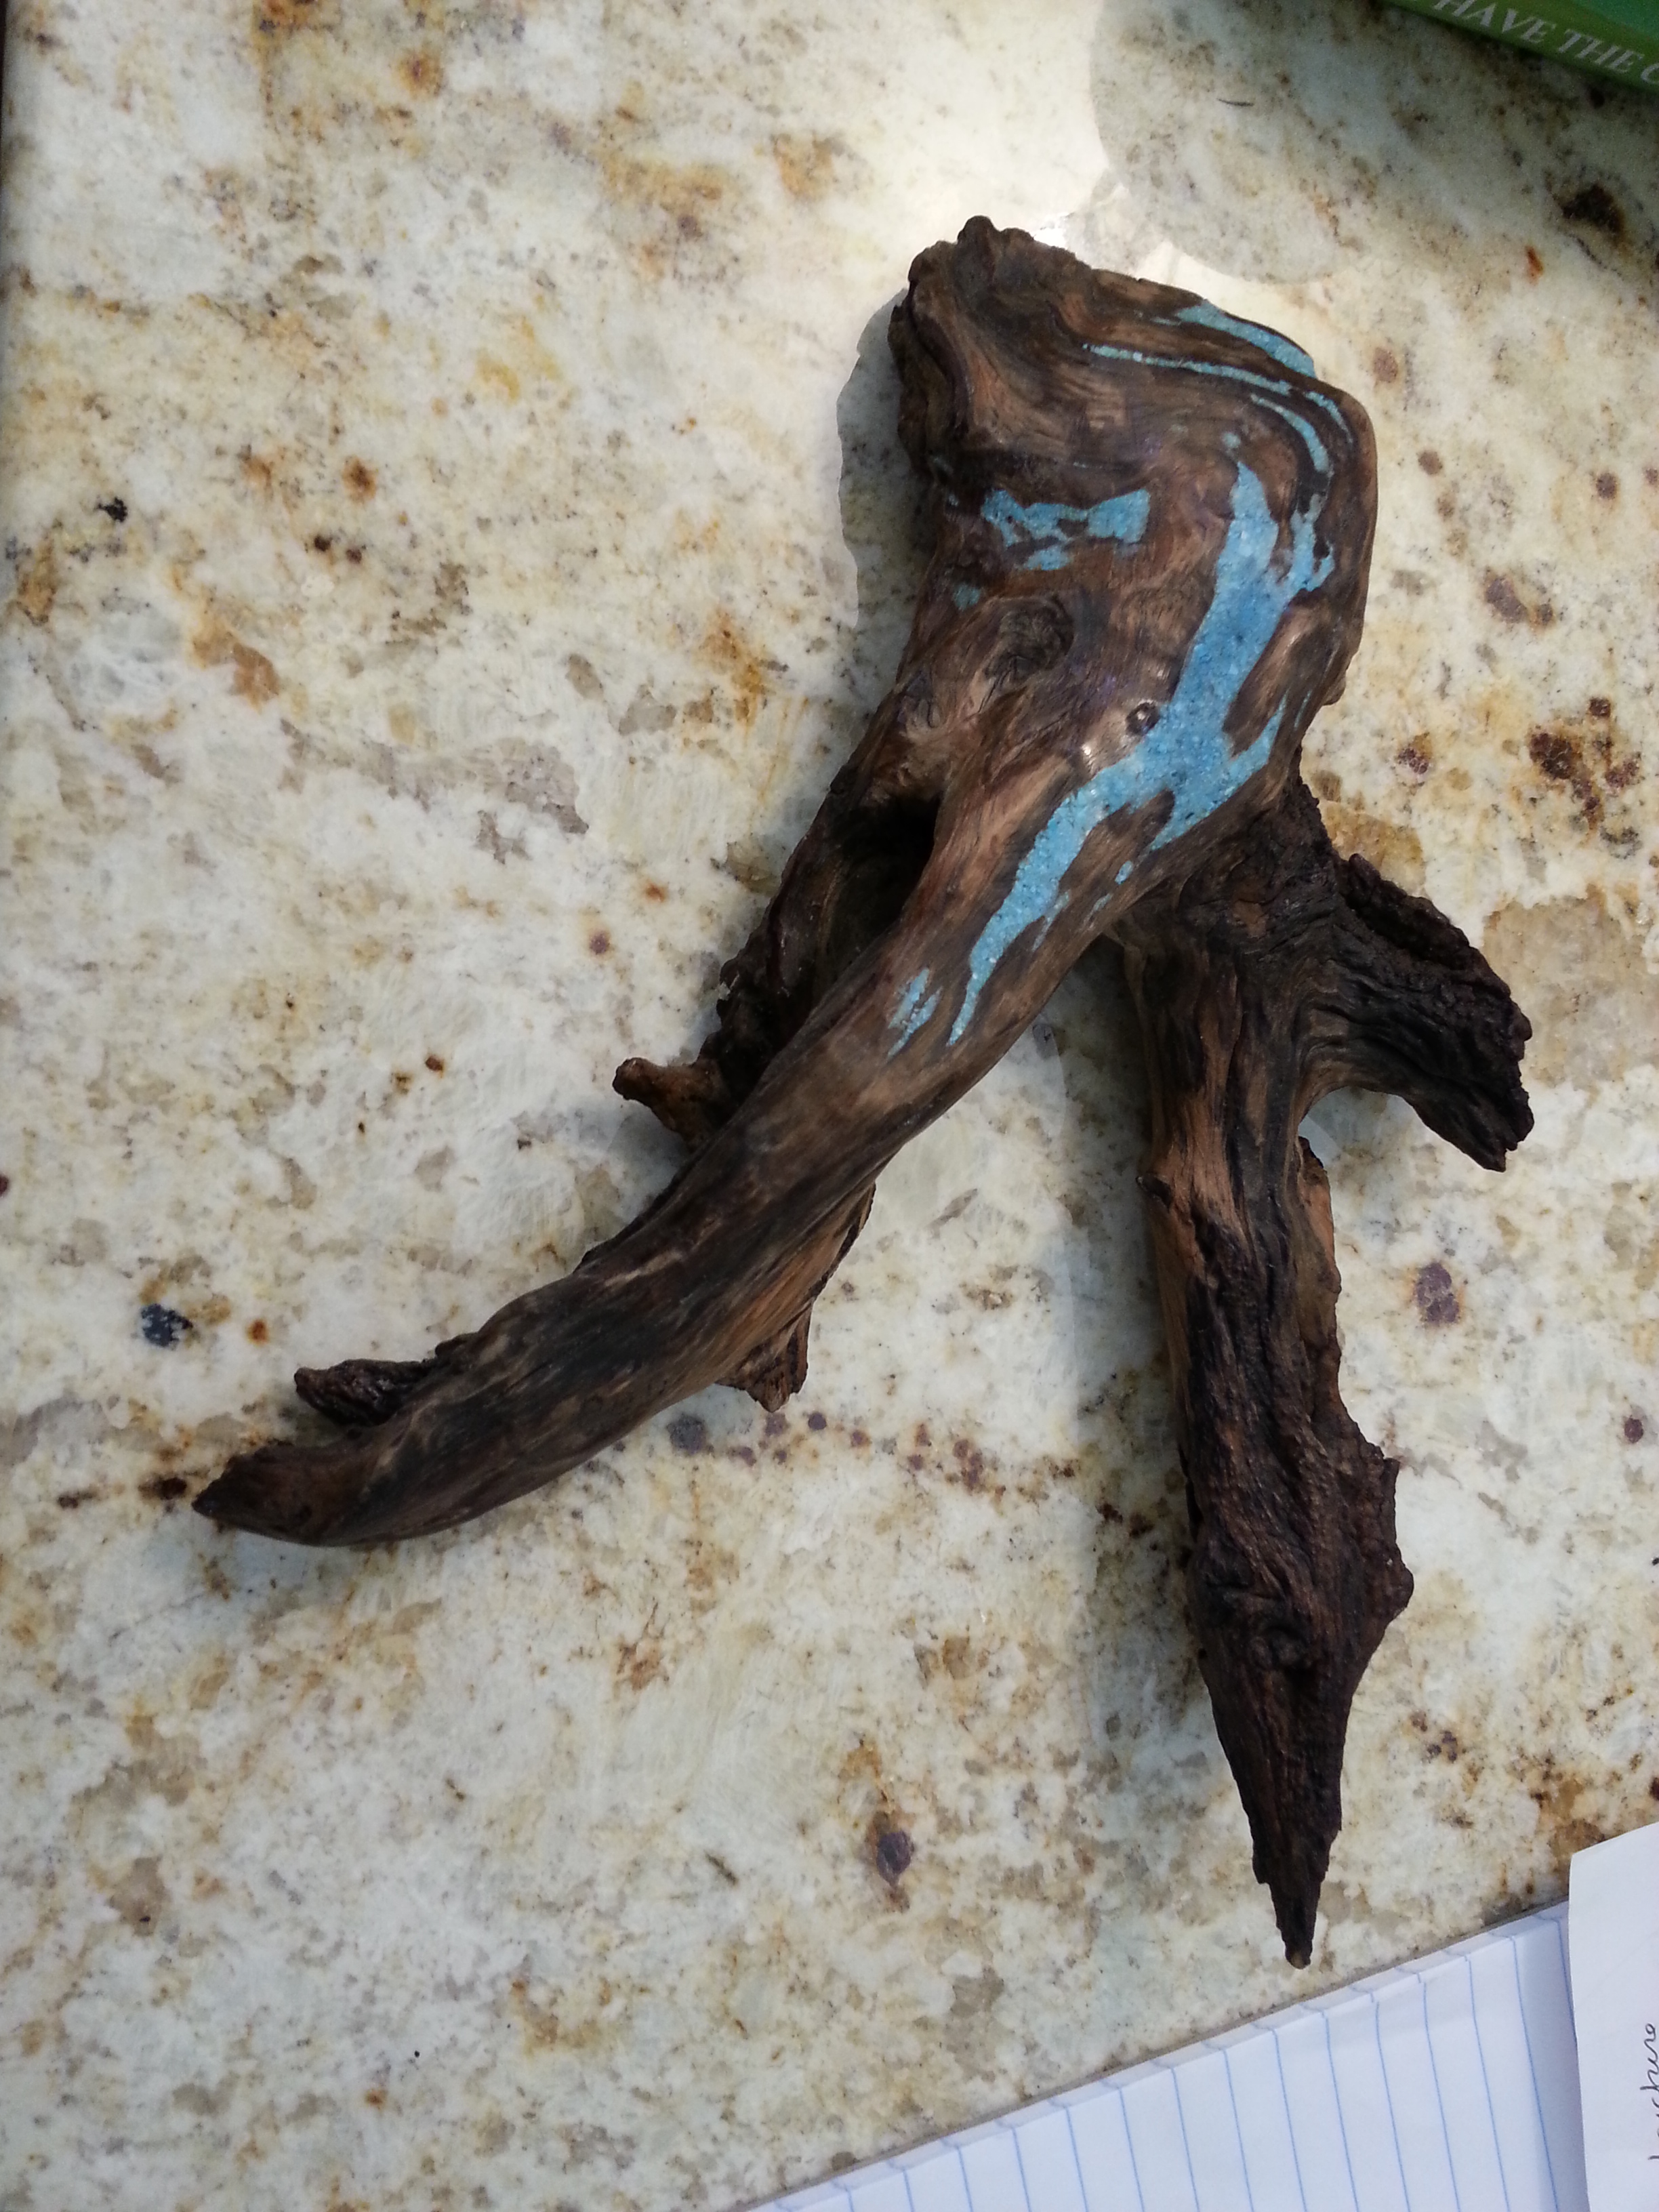
No real progress pictures to speak of, but I can describe the process for this one.

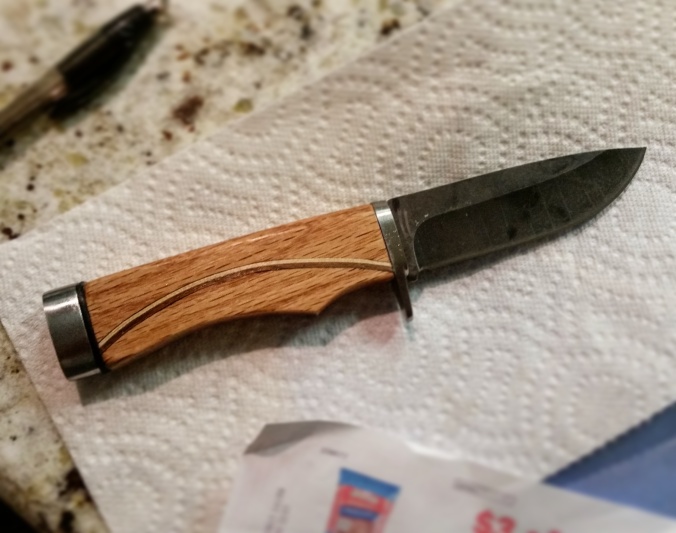
I bought a handleless knife off Amazon because it was on sale and the reviews were good. To my surprise, when it arrived it was beefier and heavier than I expected.

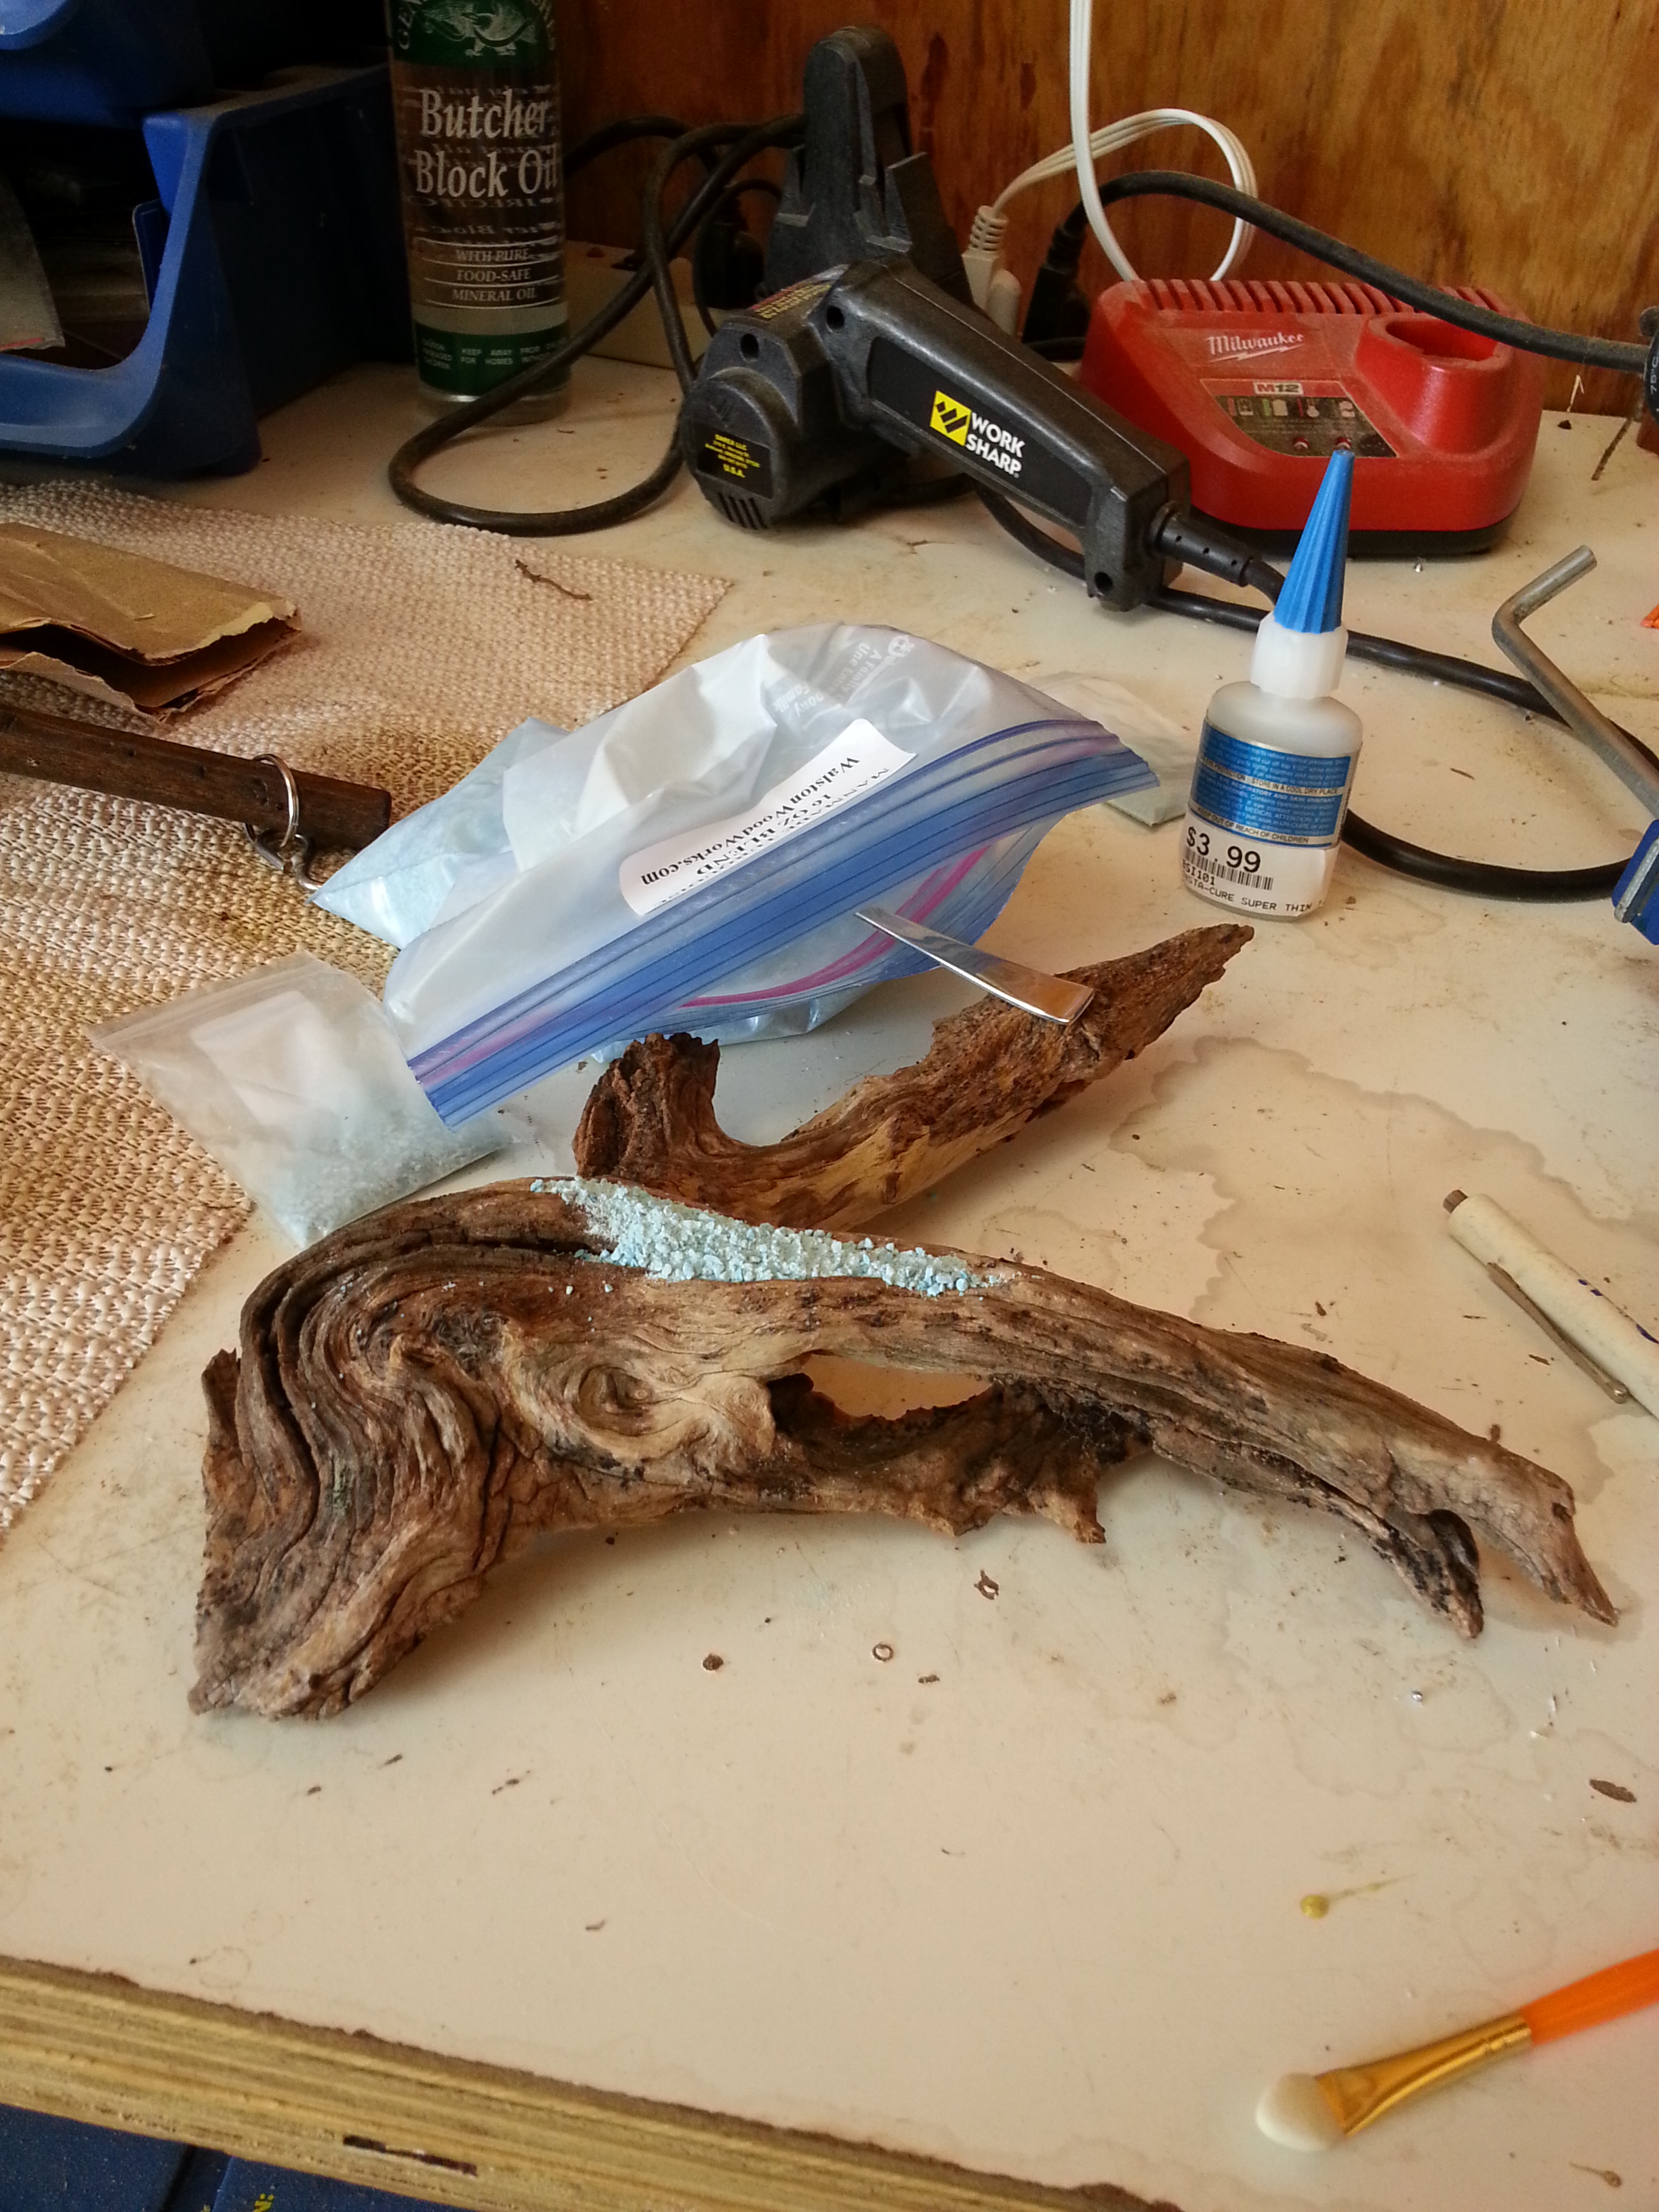
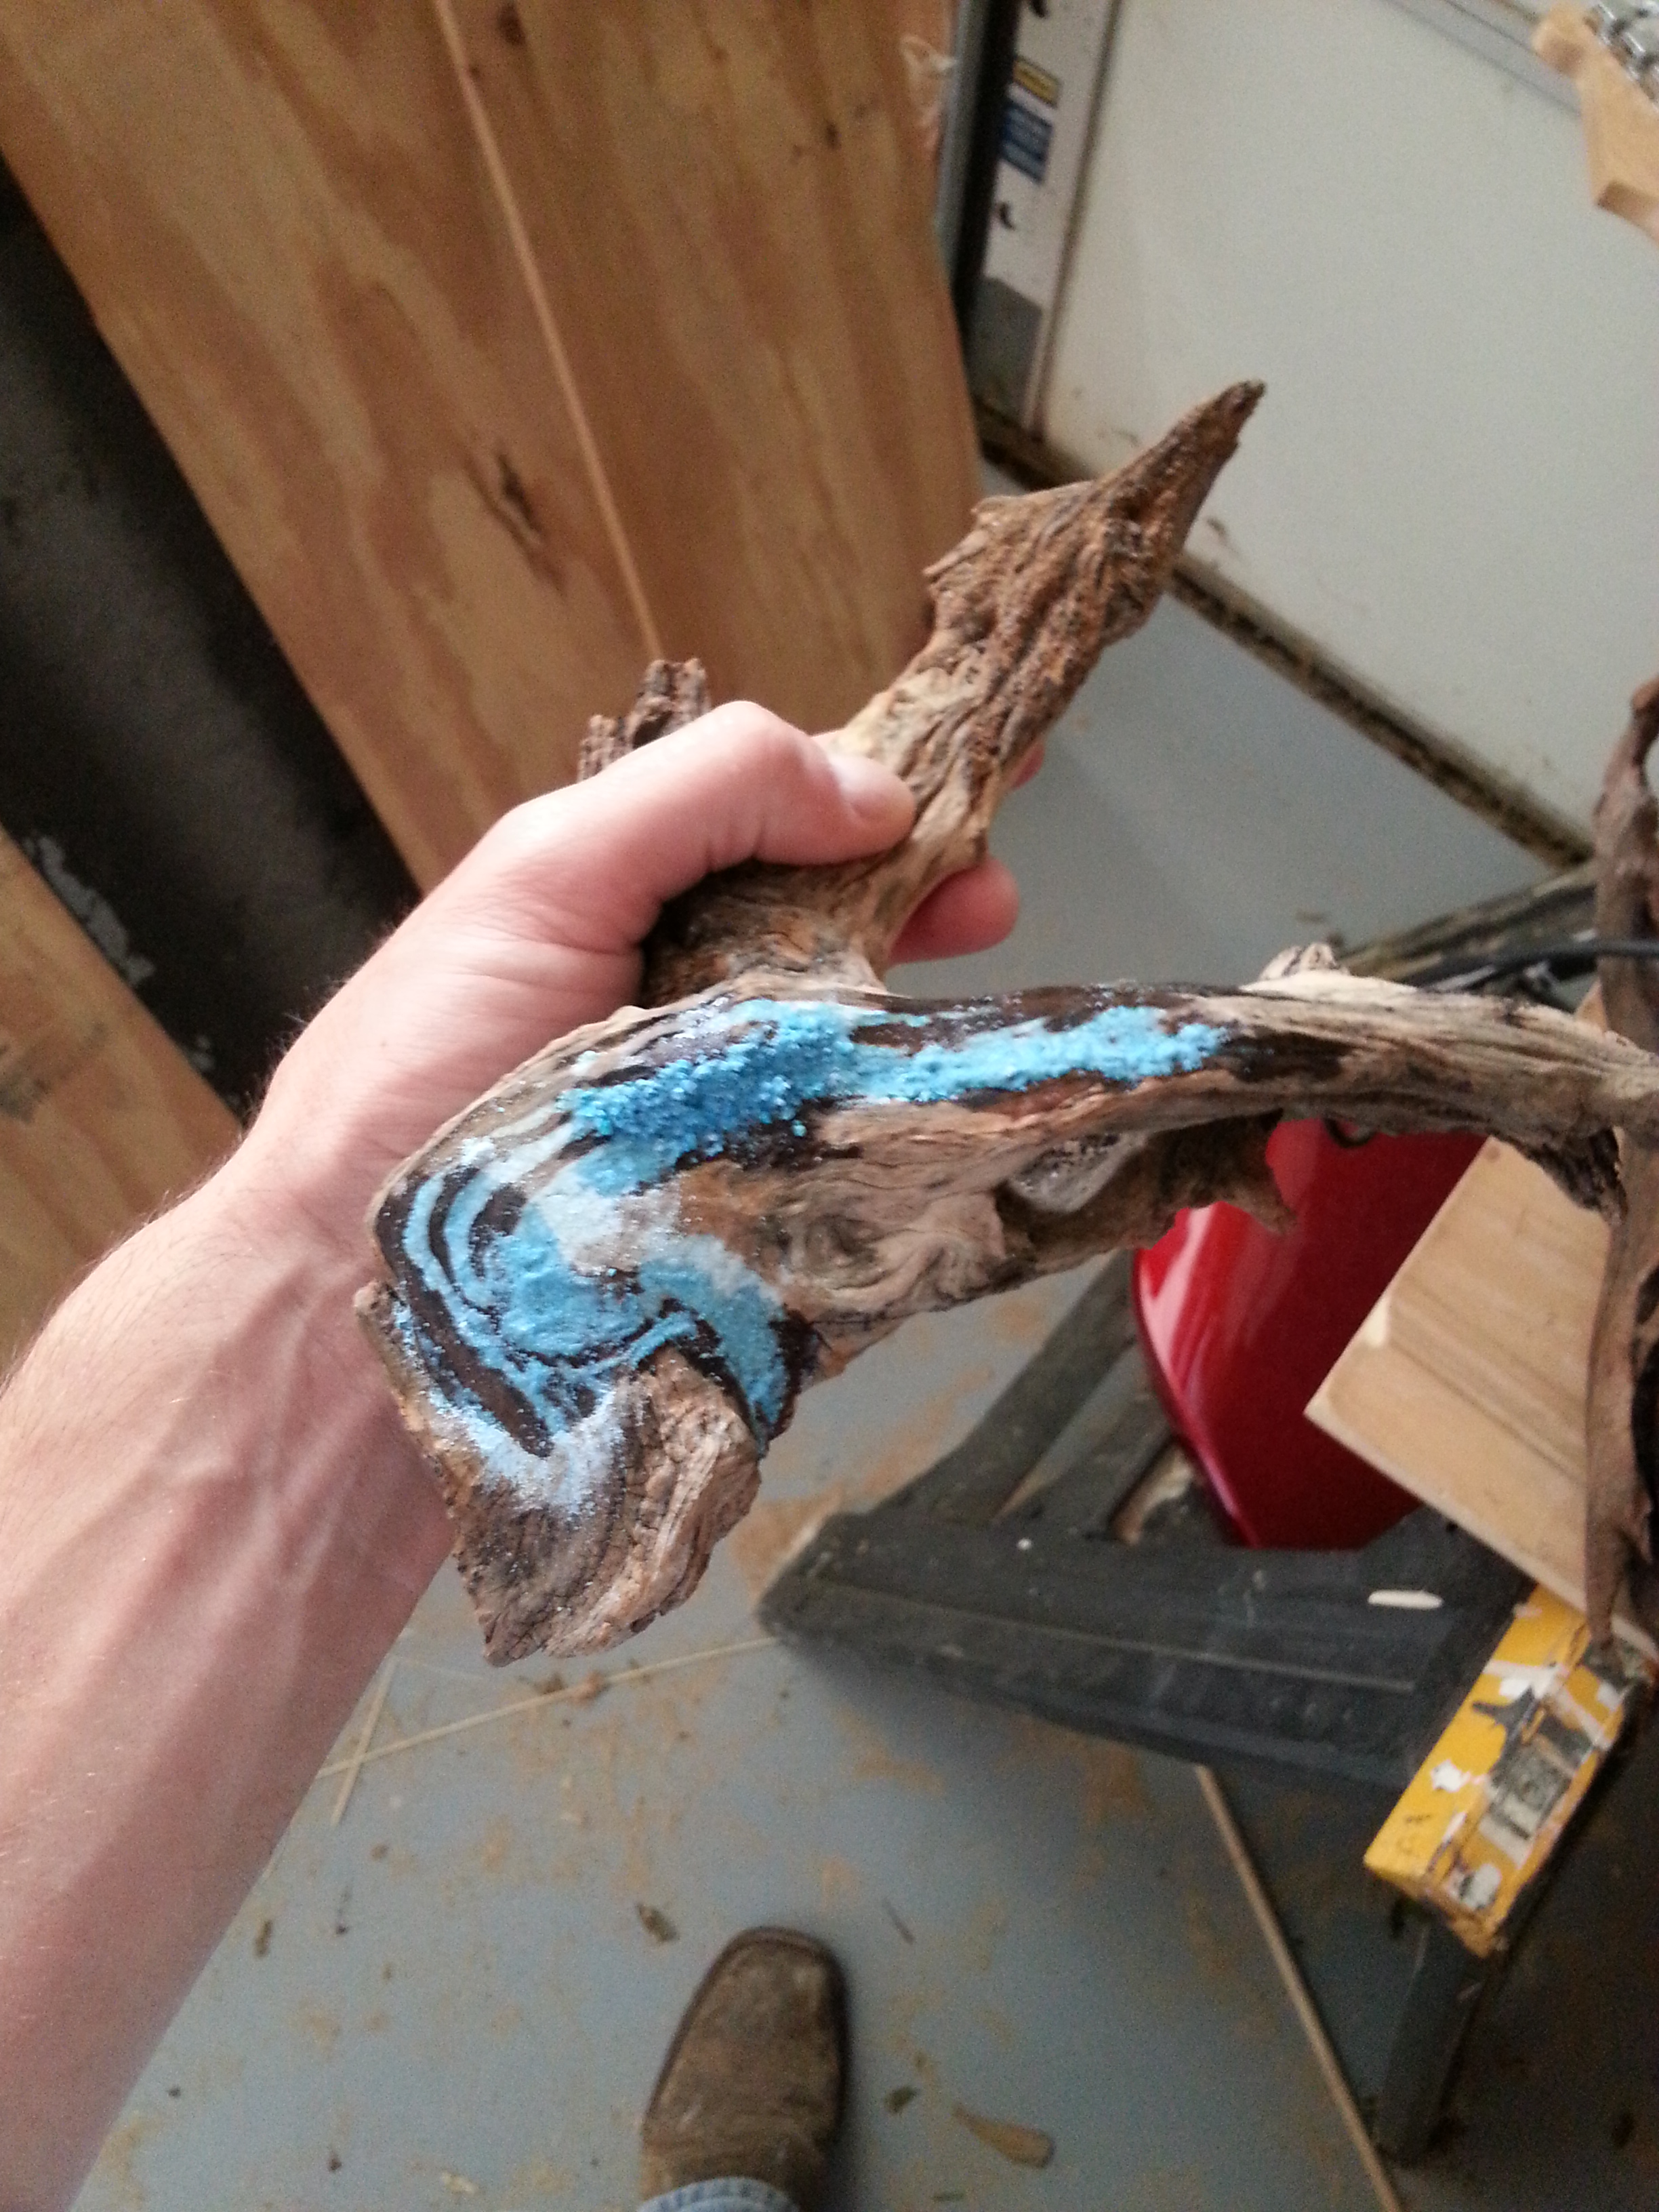
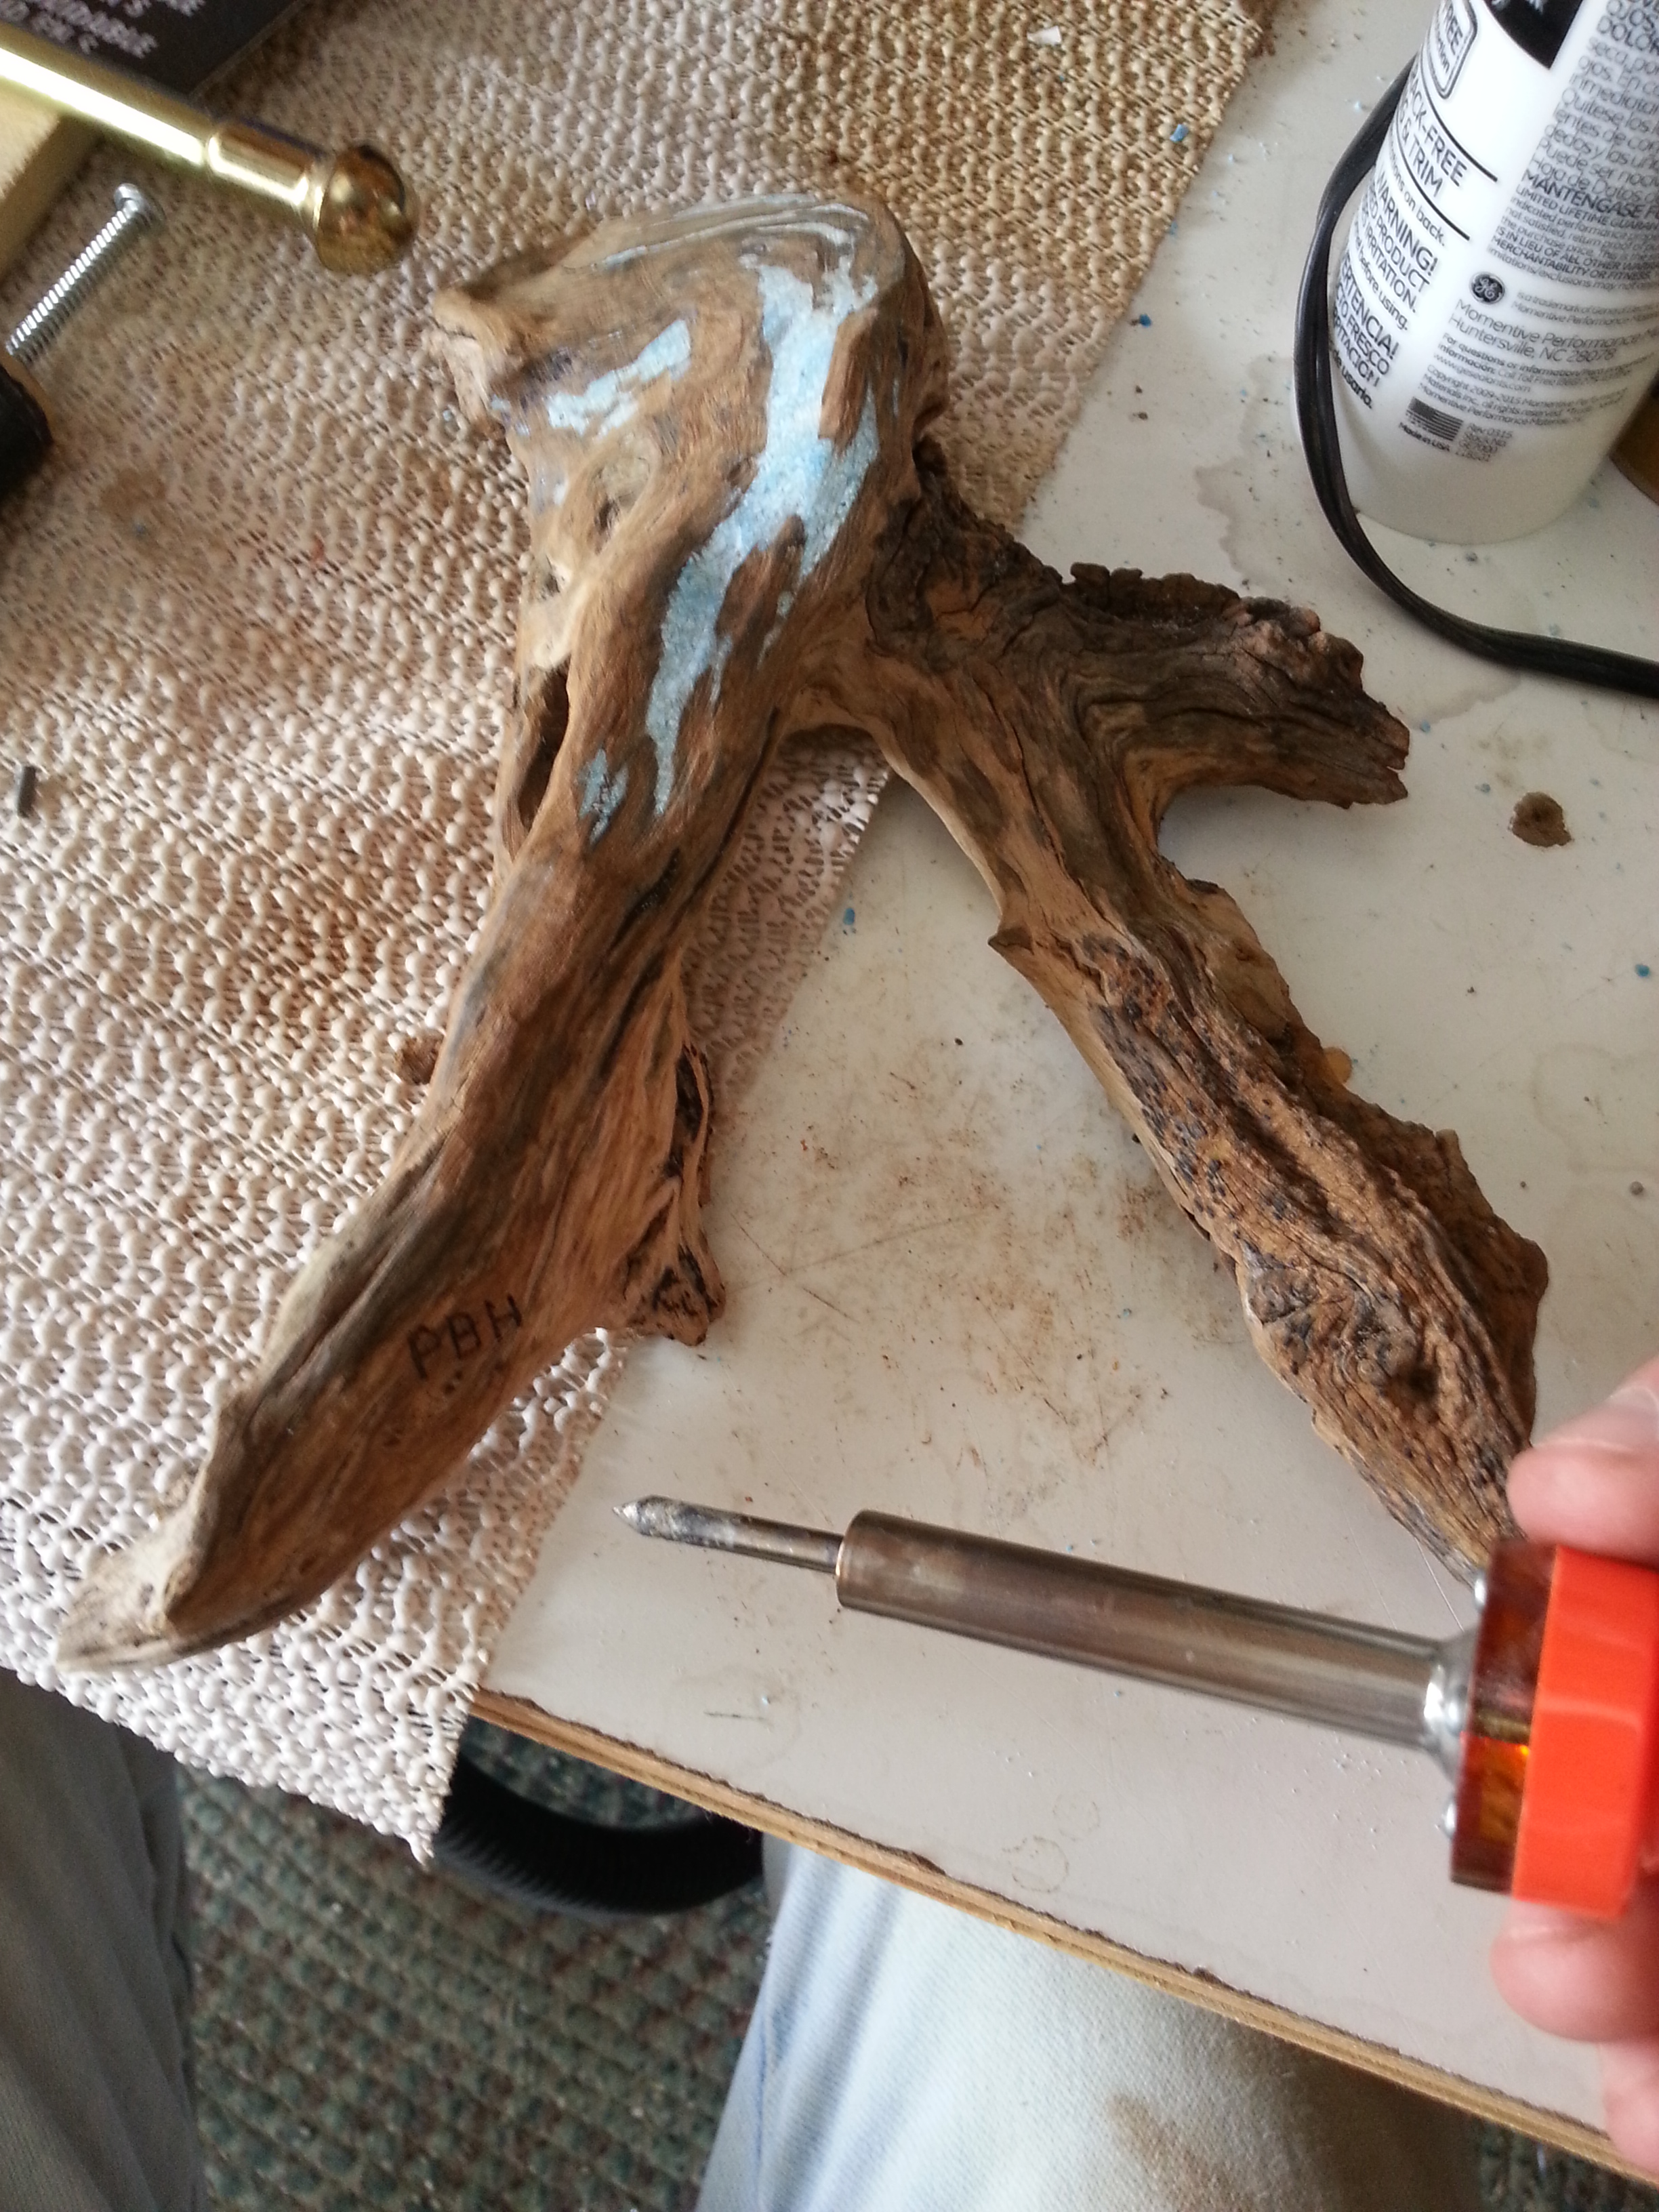
I started with a spare block of oak I had from a tree that had fallen a while back. After getting it to the rough dimensions, I used a bandsaw to make a curved cut dividing it into two pieces. I then cut two strips of veneer walnut and two strips of veneer maple to size, and glued them into the middle of the two oak pieces. I set clamps, let it dry for a day, and then used a bandsaw and sand paper to get it to the shape I wanted.

For safe handling, I always give the blade a few wraps of painter’s tape at the start to avoid cutting myself while working.

I finished the handle with a few applications of Watco Danish Oil, and glued it to the tang while screwing the pommel down firmly.

(Side note/Disclaimer: I have heard that certain oils don’t work well with red oak or cedar, but I haven’t had any problems in the past. Apparently one should “avoid putting oil (or Danish oil) on aromatic cedar or any of the dalbergia woods (rosewood, cocobolo, tulipwood). These woods contain an antioxidant that will prevent the oil from curing.” Source)

img_20160908_160253

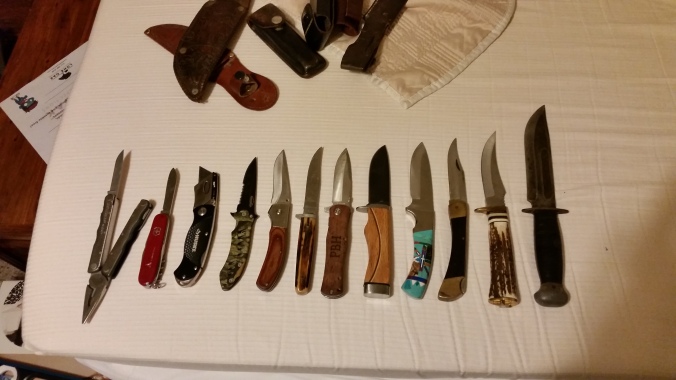
Thanks for reading! Bonus picture of my ever-expanding knife collection:

20161218_172223


Turquoise Wood Inlay

It’s been a while since I’ve posted anything, mainly due to the fact that I have so many projects going right now I can’t seem to sit down and finish any of them. So in the meantime, here’s a little inlay that I did with an interesting piece of wood my mom found at the ranch. I haven’t had much practice doing inlays, but practice makes perfect, and perfect is boring, so I’d rather take the “ready, shoot, aim” approach and learn as I go.

I forgot to take a picture before I started, but this is essentially how it looked before the inlay.

I forgot to take a picture before I started, but this is essentially how it looked before the inlay. Bought the turquoise from a guy on Ebay and picked up some CA glue at a hobby shop.

At this point, I think it’s interesting to note that I made my first 45 minute round-trip to Woodcraft and was kind of underwhelmed. Not only were they all out of CA glue, but they said what I was trying to do absolutely would not work and I needed to use an epoxy. I said nay nay.

I forgot to take a picture of my first round, but here’s the second round of applying the turquoise and CA glue post-sanding:

Voids all filled with turquoise (powder for small cracks, larger pebbles for big gaps) and then dropped in the CA. IMPORTANT: Work in a well-ventilated area and wear a respirator.

Voids all filled with turquoise (powder for small cracks, larger pebbles for big gaps) and then dropped in the CA. On the left has been sanded already, on the right has yet to be.

I used a dremmel to sand down the turquoise after each application. I want to stress how important eye protection and respirators are while working on this stuff. Turquoise dust is not good for your lungs and little chips fly at high velocity.

All sanded down.

All sanded down with my sloppy wood-burned initials added. You can definitely tell that my woodburner tool doubles as my soldering iron.

Close-up of the sanded inlay.

Close-up of the inlay. You can still see stray turquoise that needs sanding and a few chips that will be filled with more powder and then sanded down again, before a final smooth sanding. It’s a bit of a process.

....huh.....weird. For some reason the satin finish turned out WAY too glossy, so I'll have to go back and remove some. It won't look quite this striking once the piece dries.

….huh…..weird. For some reason the satin finish turned out WAY too glossy, so I’ll have to go back and remove some. It won’t look quite this striking once the piece dries.

Post-deglossing. It may not look as striking, but trust me, in real life that finish looked really stupid.

Post-deglossing. It may not look as striking, but trust me, in real life that finish looked really stupid.

This slideshow requires JavaScript.

Thanks for reading!

-Pat