Secret Compartment Bookcase

I know it’s been a while since I’ve posted anything on here (besides yesterday), but I have a backlog of about 3-4 projects I need to upload…they’re coming, I promise. In the meantime, here’s how I made a DIY secret compartment in a bookcase.

I found an ad on Craiglist for a decent-looking “oak” bookshelf for $40, so I offered the guy $20 and to haul it away myself. Just like that I became the proud owner of a genuine veneer wood dinged-up-in-several-places-suspiciously-absent-from-the-online-photos bookshelf. But, it was only $20. This thing is 3 feet wide and about 6 feet tall.

bookshelf5

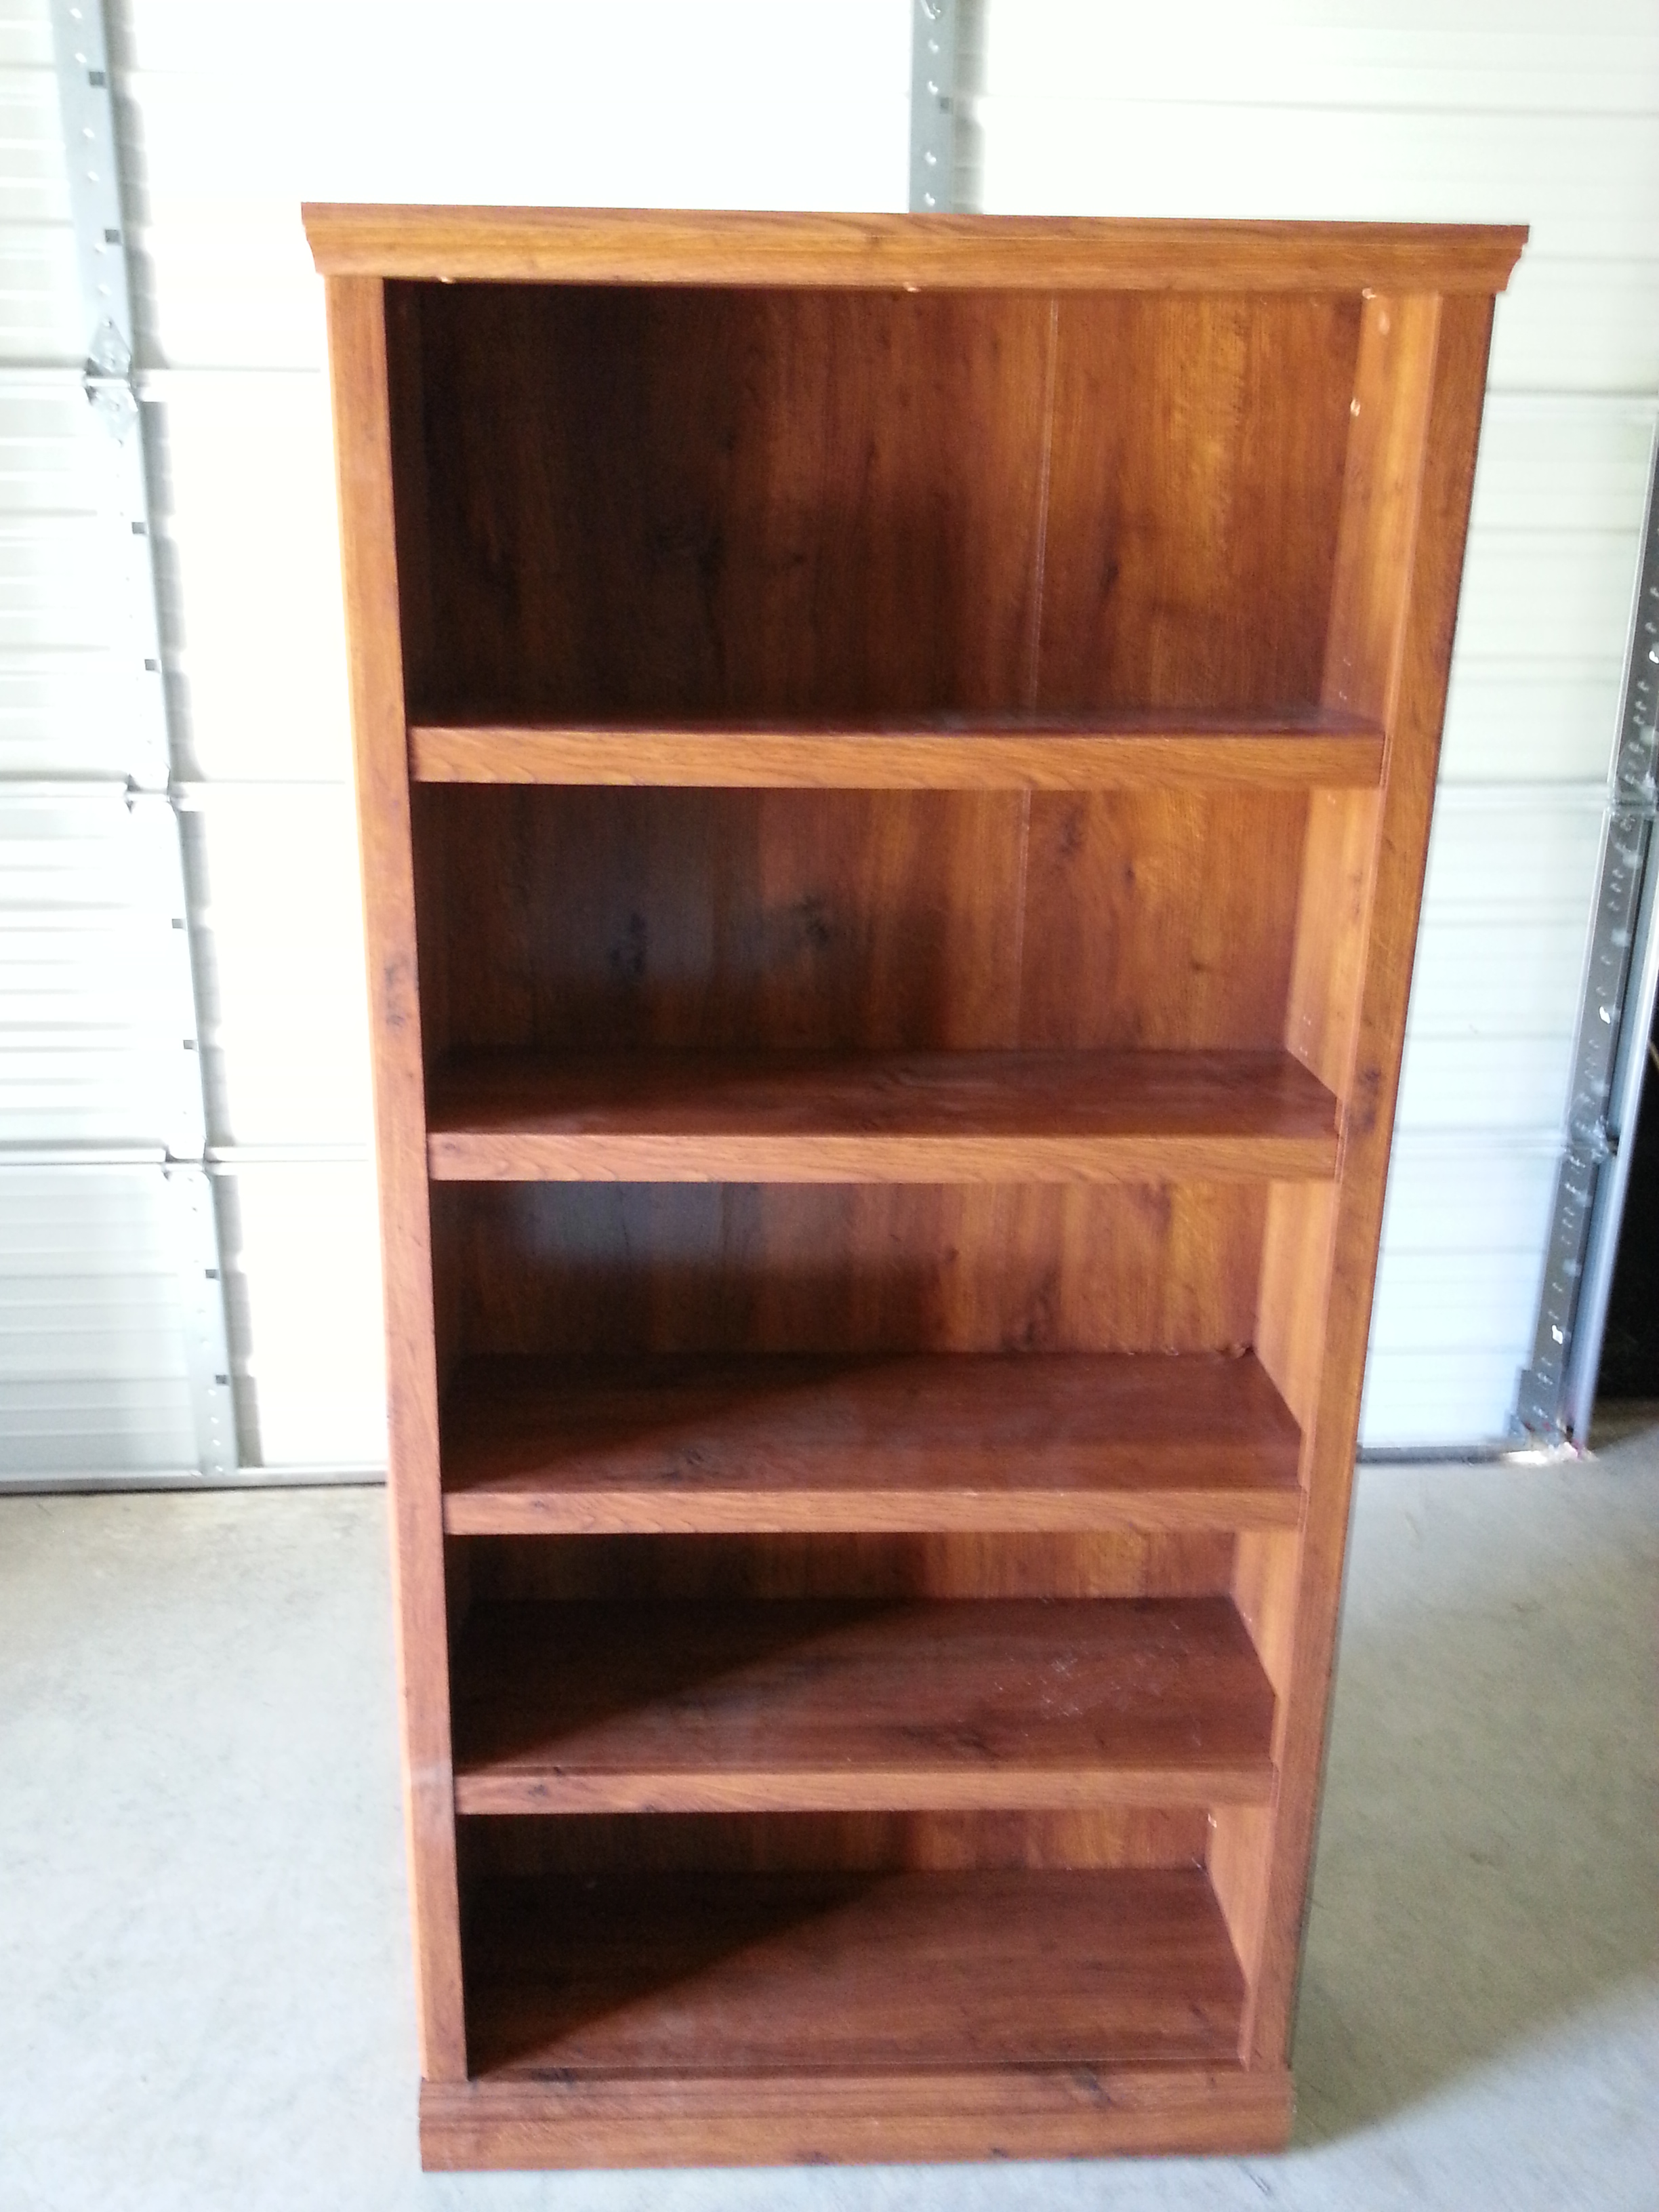
First things first…this sucker was wobbly. I bought and installed a few pieces of wood to brace the back and provide stability.

bookshelf6

I built a simple box out of scrap wood and screwed it to one of the shelves. This is me previewing what will eventually be the opening to the compartment.

I built a box out of scrap wood and screwed it to one of the shelves. This is me previewing what will eventually be the opening to the compartment. The least believable part of this whole “secret” bookshelf is that I might actually own a book called “Compiler Design in C”.

Okay, I realized I skipped a lot of steps here, but I forgot to take pictures. I used a cabinet hinge on the bottom, a folding lid stay to guide and support the book, and cabinet style push latch on the top.

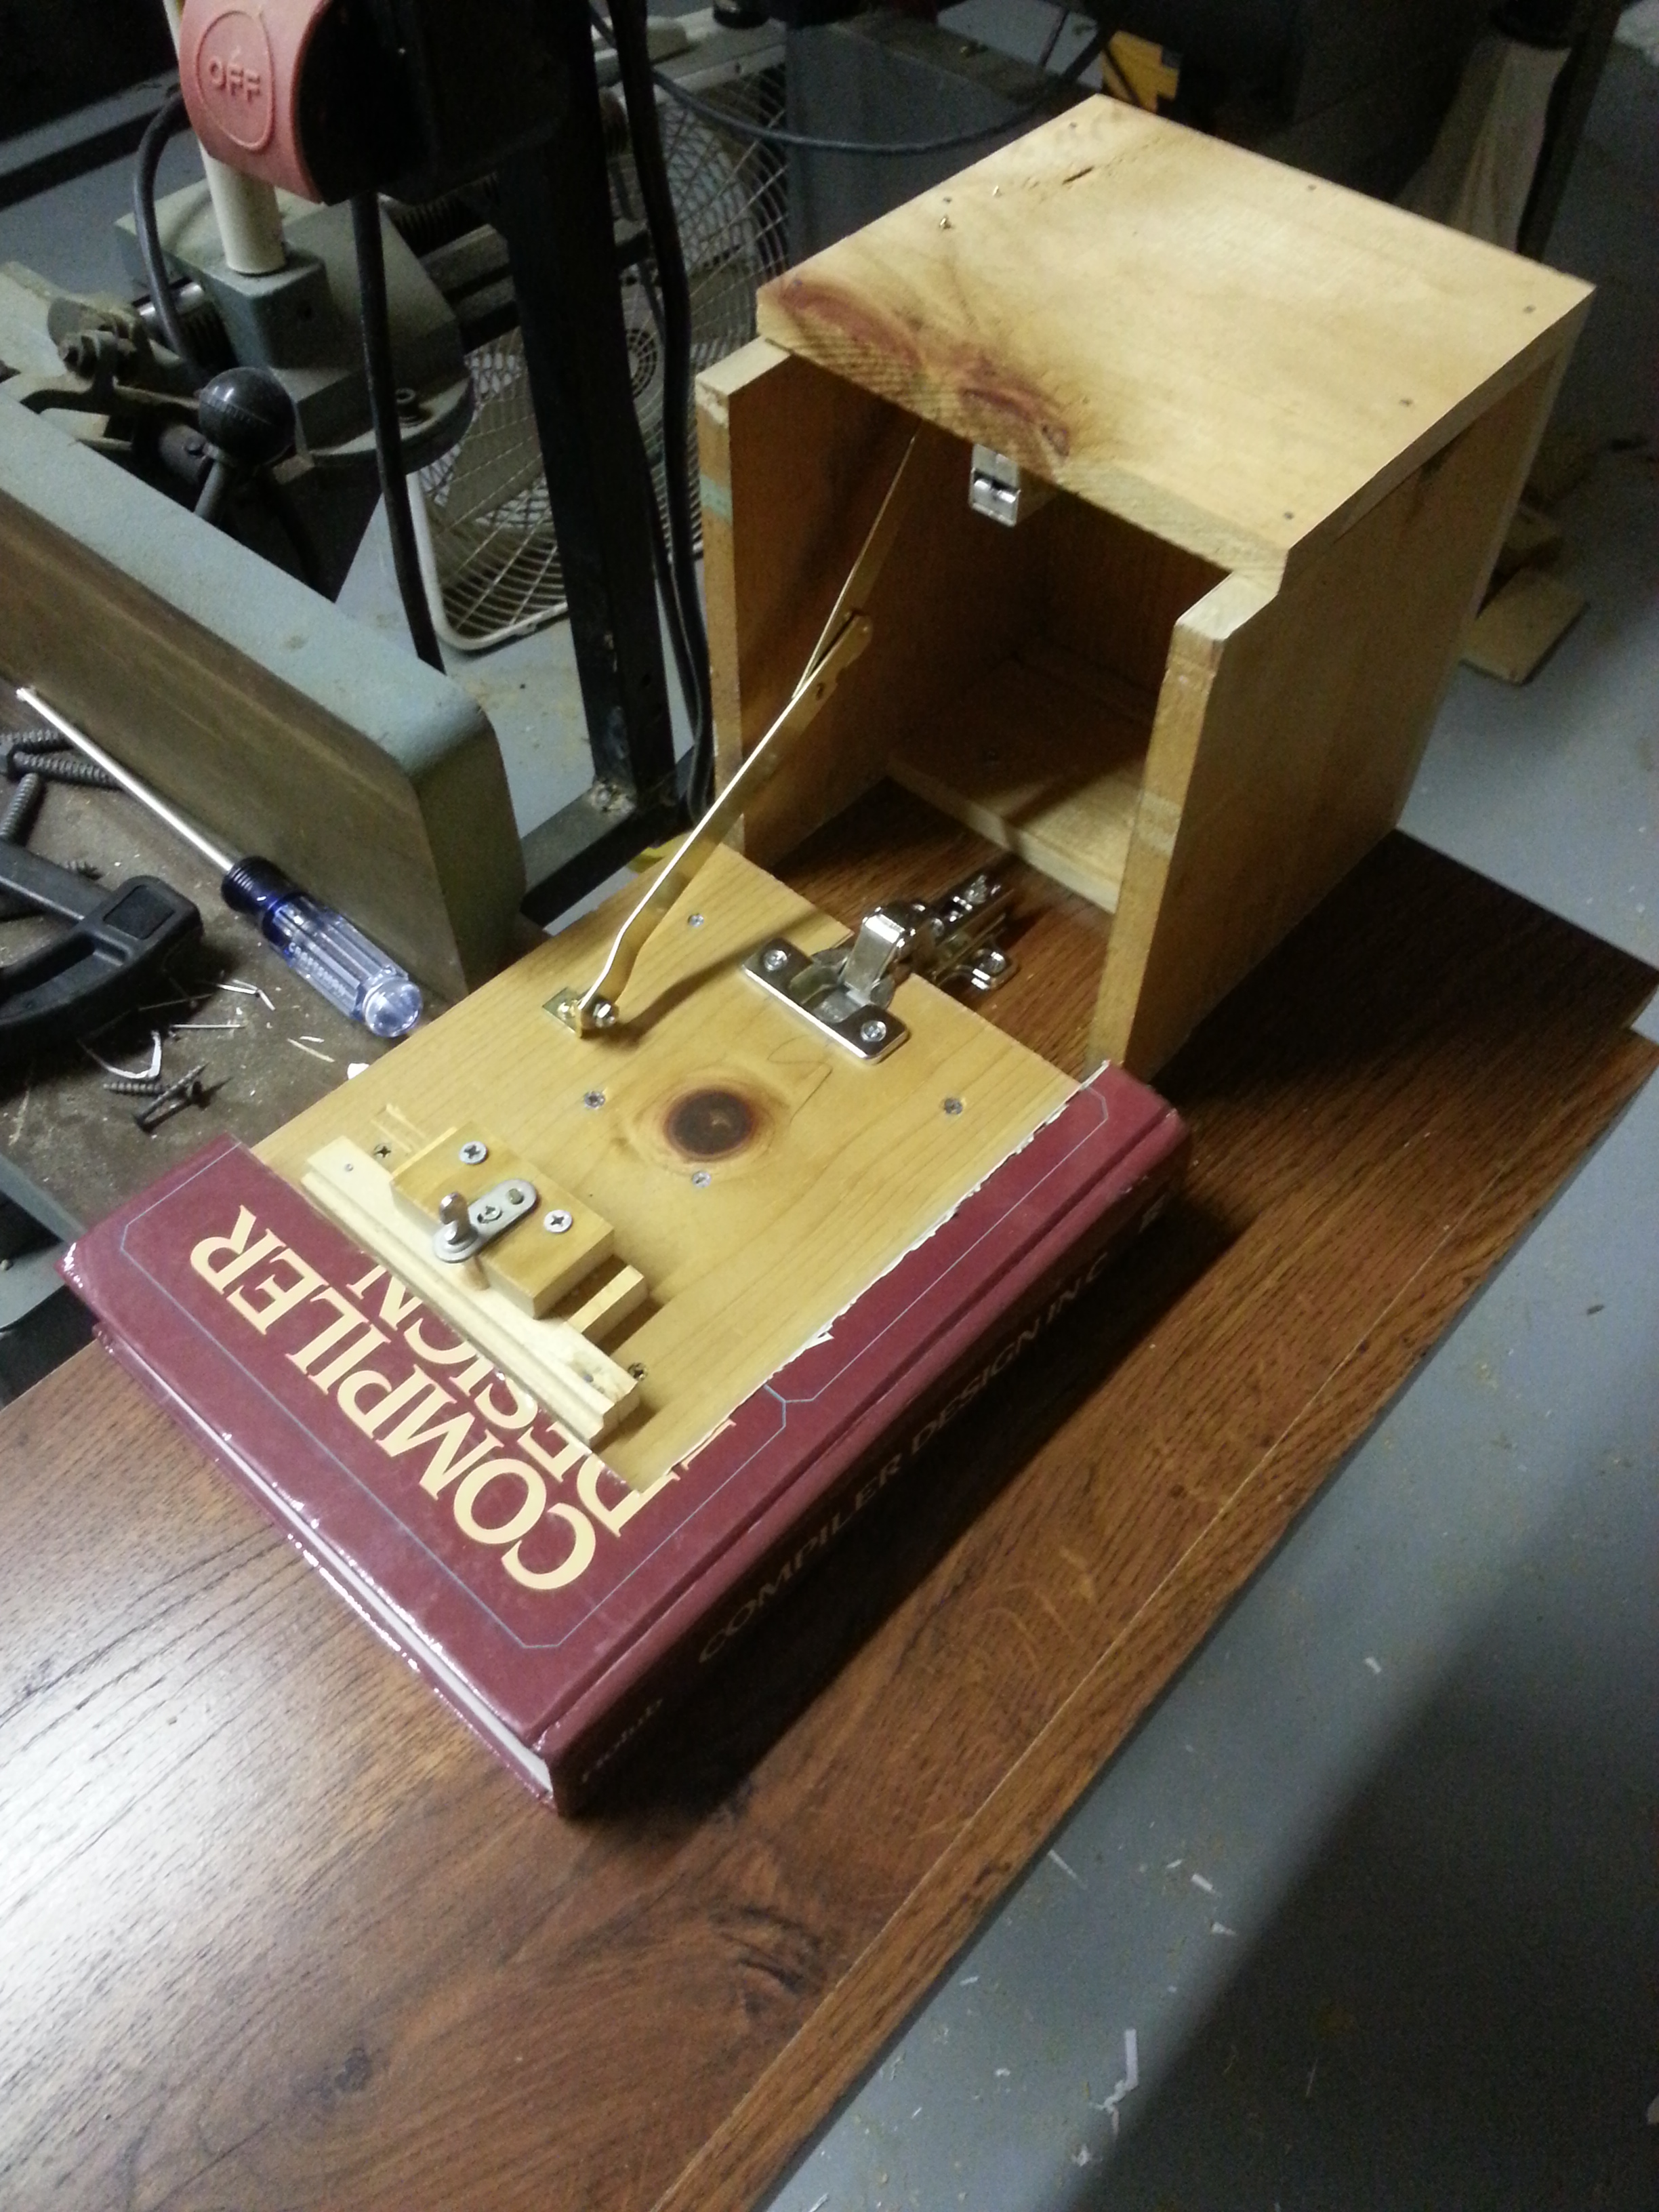
Okay, I realized I skipped a few steps here, but I forgot to take the pictures. I used a cabinet hinge on the bottom, a folding lid stay to guide and support the book up and down, and a cabinet style push latch on the top.

Time to cut some books on the bandsaw! Got all of them secondhand from Savers for about 50 cents each.

Time to cut some books on the bandsaw! I bought all of them secondhand from Savers for about 50 cents each. Post-cutting, I clamped them individually and used Gorilla wood glue on the inside edges (but not the top, for aesthetics) so that the pages would harden and stick together.

All set in place. I used velcro to attach the hollow books, so they would stick in place but still move enough to appear solid.

All set in place. I used velcro to attach the hollow books so they would stick in place but still move enough to appear real.

Dry fit before I stained the inside of the compartment.

Dry fit before I stained the inside of the compartment.

I used a walnut stain, which was the darkest I had on hand. I also stained the back braces so they wouldn’t stand out so much. Here’s a gif of it in action:

bookshelfvideo

You'd never know it was there.

Unless you read my blog, you’d never know it was there. Looks pretty good!

The neat thing about the push latch is you have to apply just enough force in just the right spot for it to unlock the compartment. Now all I have to do is find something secret enough to keep in there — thanks for reading!

Pat

Experimenting with Dovetails – Key Ring Hanger

I’ve put off trying dovetail joints for a long time, primarily because everything I’ve read warns me they can be maddeningly frustrating for a first-timer. However, I’m happy to report to you that they’re only sickeningly frustrating. For those of you not in the know, this is a dovetail:

dovetailjoint

I saw an interesting post on reddit where a guy made a key-ring hanger for his wall out of three dovetail joints, and it inspired me to try. Plus, I thought I could put my own spin on it and use a piece of scrap pecan wood from an old project.

Start with the scrap piece.

Start with the scrap piece. This old pecan wood has plenty of spalting, which will make it really interesting to look at post-finishing.

Used the belt sander to take off some rough spots and rot.

Used the belt sander to take off some rough spots and rot. Sorry about the blur on all these photos, but you can already see the zone lines in the wood. Sweeeeet.

Starting the dovetail cuts. There are specials hand saws that make these kind of cuts easier, but I don't have them, unfortunately.

Starting the dovetail cuts. There are special hand saws that make these kind of cuts easier, but I don’t have them, unfortunately.

Dovetails and their mates cut, ready to be glued in place.

Dovetails and their mates cut, ready to be glued in place.

The problem with using spalted pecan wood, I discovered, is tearout. You can’t tell very well in this picture, but I couldn’t get perfectly clean cuts because the wood would literally crumble at certain points. Very frustrating.

Used the belt sander to sand down the front face even.

Used the belt sander to sand down the front face even.

Added some mounts so I can hang this thing on the wall later.

Added some mounts so I can hang this thing on the wall later. Not very pretty.

Danish oil applied!

Danish oil applied!

Added some hooks to hang keys on, and it's ready to be hung.

Added some hooks to hang keys on, and it’s ready to be hung. I tried to make the outer two dovetails equally a little wider than the middle, but I kinda messed up the spacing. Oh well!

This slideshow requires JavaScript.

Thanks for reading!

-Pat